DIY Oversized Canvas Curtains
I am a proud new homeowner! (read: condo-owner) The dream of throwing my command hooks out the window and actually drilling holes into the wall was a reoccurring vision - and now it’s finally here!
What no one (okay, everyone) told me was that being a homeowner costs A LOT of money…. Like after you buy the place, the expenses keep racking up. I needed a new kitchen faucet, I wanted to install shelves in my closet, I needed a couch, shower curtains, new towels, the list goes on….
One necessity on my list was to get some curtains… Turns out the blinds that were installed weren’t exactly opaque, so for my sake, we needed some extra privacy. So I went online to order some curtains, and holy shit!!! They’re so expensive! My windows are 12 feet tall, and the cheapest option I could find was $43/panel (and not that cute might I add). Multiply that by the number of panels I needed and I was looking at a $450.00 bill! No thank you.
So I did what I do best - tried to find a cute alternative that didn’t break the bank, and not to toot my own horn, but I did just that. And guess what I used!?
Canvas drop-cloths.
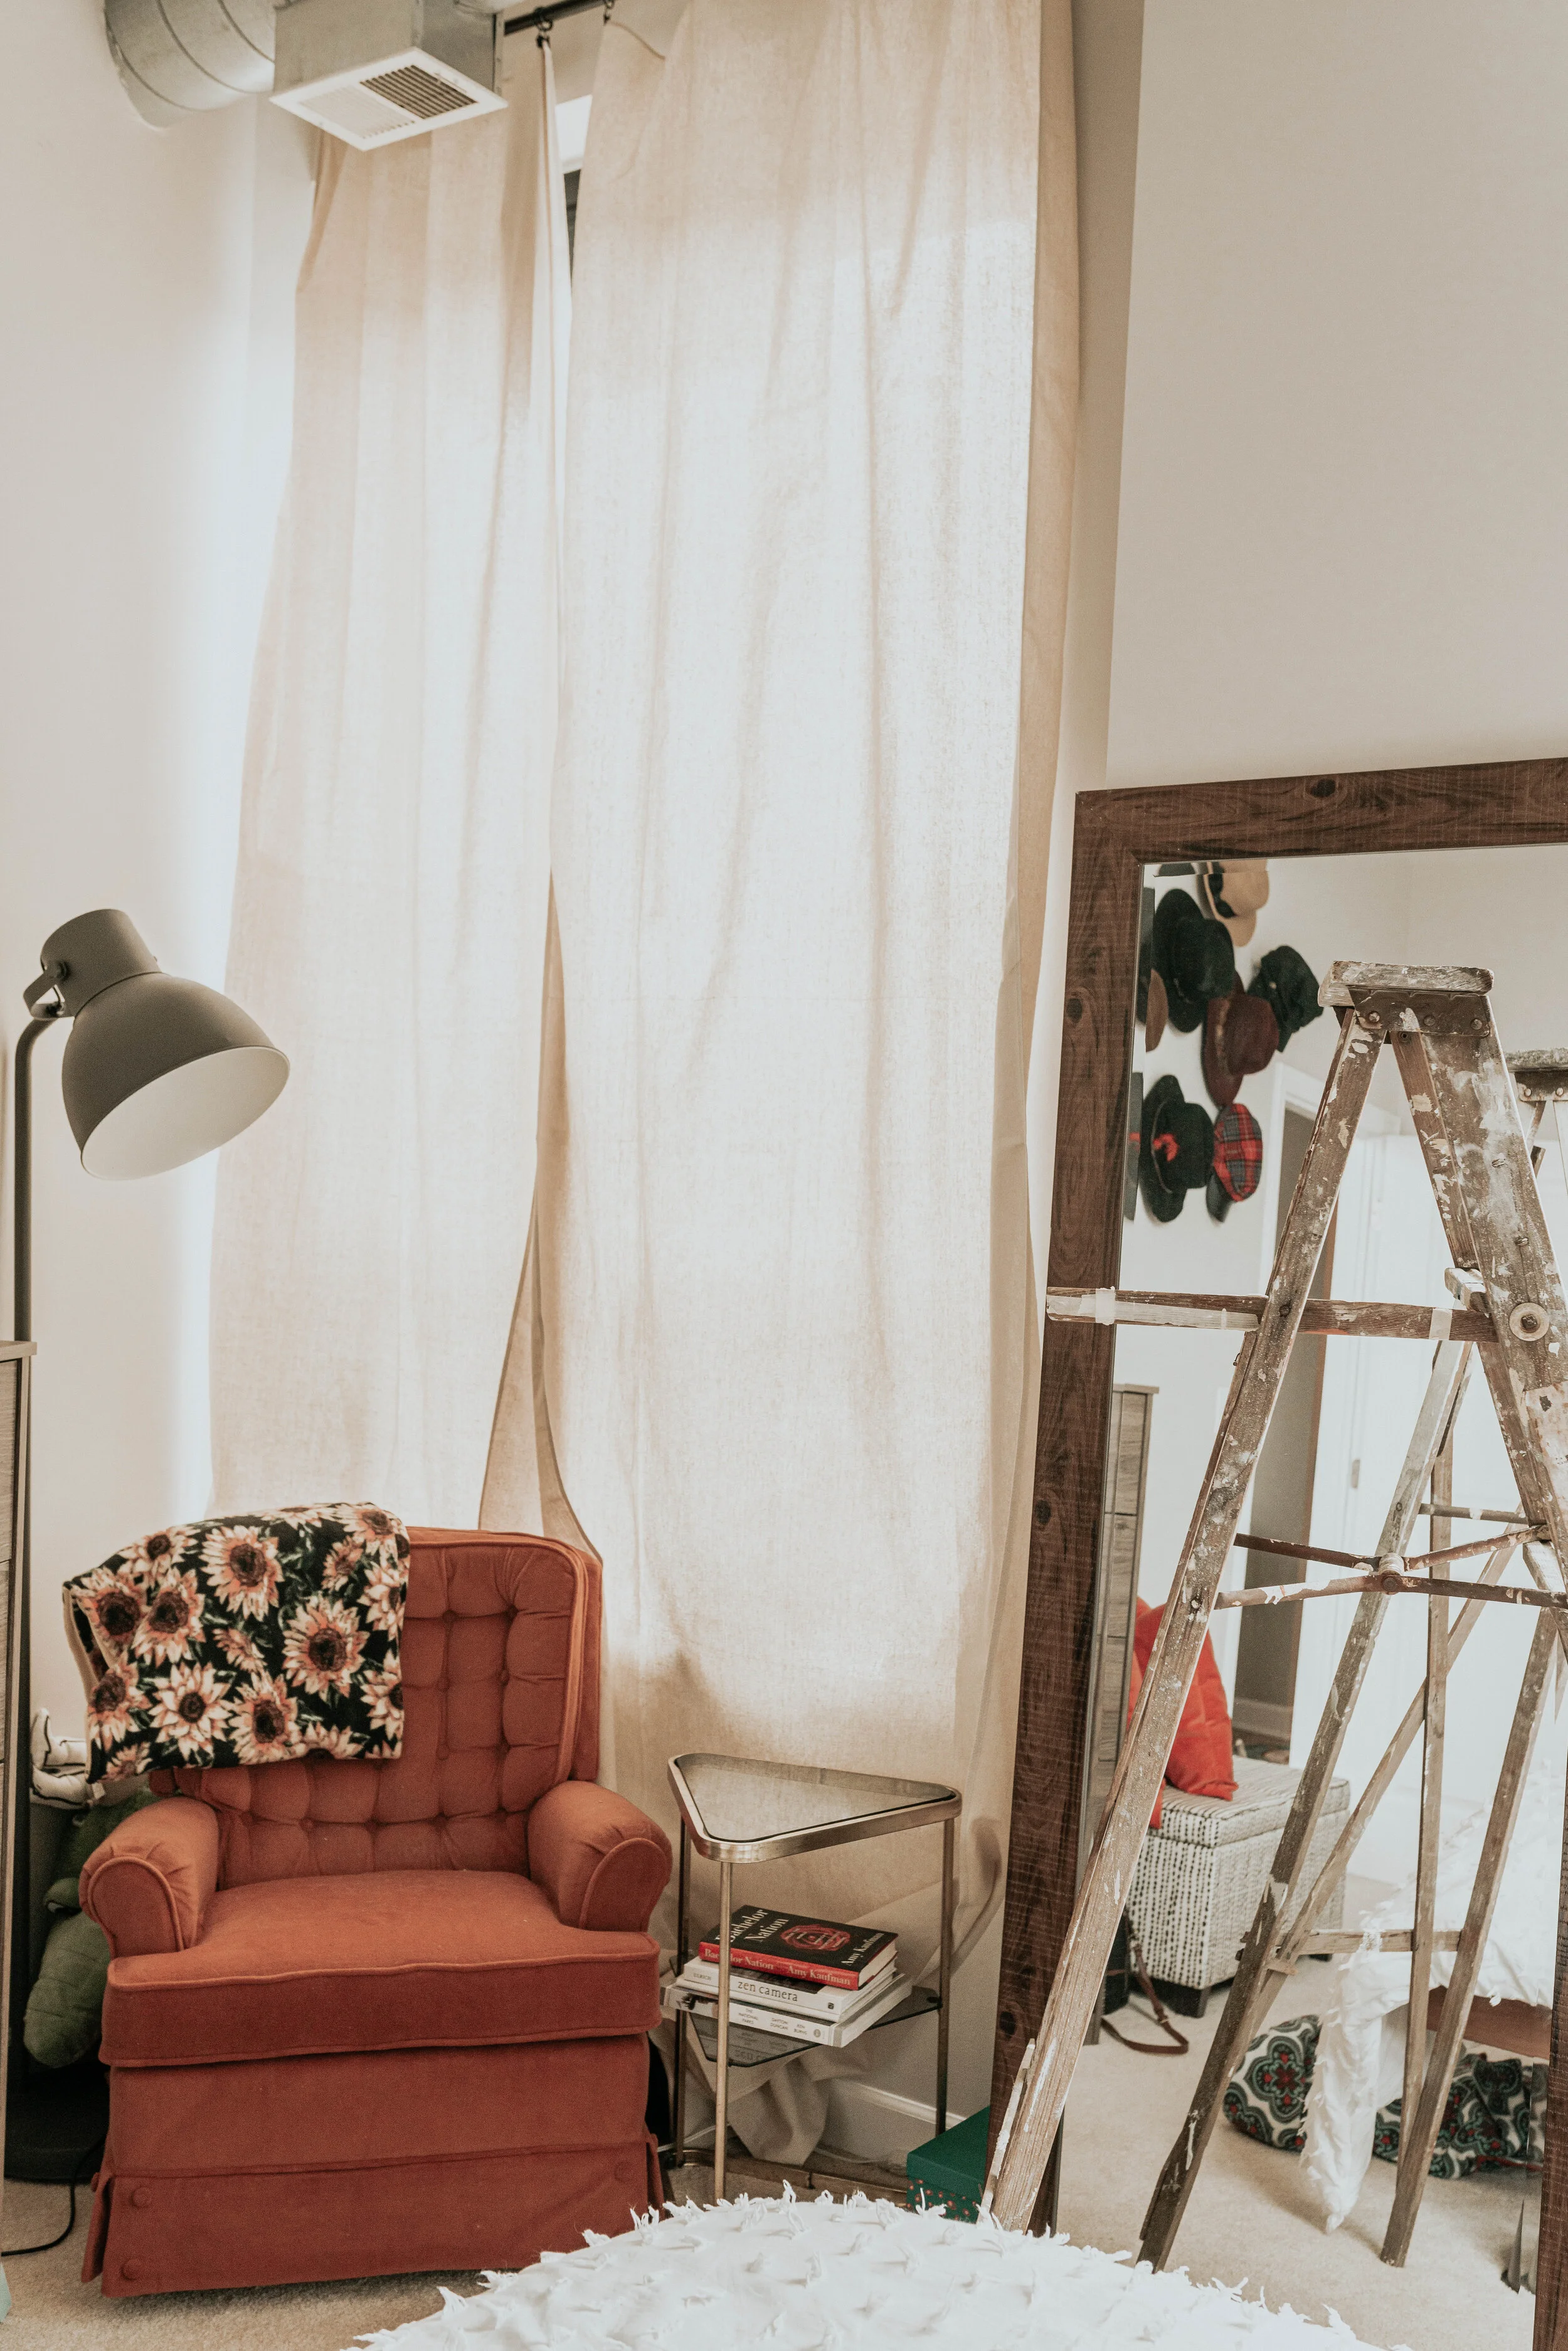
Yes - the same ones your painters use that you get at the hardware store. And they were cute. Don’t believe me? Look at the results!
Please note that this post may contain affiliate links, at no extra cost to you. To read my affiliate disclosure, click here.


Do I have you convinced?
NO?
Well look at the difference in cost:

Mhm, that’s what I thought. Read on for a step by step guide on how to get these beauties up in your home!
diy OVER-SIZED canvas drop-cloth curtains
a guide
What You’ll Need
Tape measure
Power drill
Ladder / Step stool
An iron
1” Curtain rod
1” Curtain ring clips
Canvas drop cloths
A friend (seriously, you can’t do this alone!)

STEP ONE:
Measure, buy, & Borrow
Using your tape measure, measure your window frame so you can get the correct size curtain rod, and the correct length drop cloth.
Curtain Rods

My windows are HUGE - they’re essentially floor to ceiling measuring in at . You don’t want your curtain rod ending right where your window does, so make sure you add a couple inches on either end so your curtains have a place to rest when they’re not in front of your window. To make this easier, I got these 1” telescoping curtain rods at Home Depot for around $14 a piece, and an extra long one for the living room for $19 - hardware included! These were the cheapest rods I could find, and they come in a variety of colors and sizes which was super nice, and the ends come off so you can swap them out for something a little fancier if you so choose.
Drop-Cloths
To find the best canvas drop cloth, I did a lot of digging. You can find some on Amazon, but there are mixed reviews, and Home Depot was out of stock when I was looking. SO, I went to the thrifter’s paradise of hardware stores: Harbor Freight. I found these 4’x12’ Canvas drop-cloths with great reviews. What was even better? They’re only $9 per cloth and I got them on sale for $5.99/piece plus a 20% off coupon! (A STEAL!) There are other sizes available - so don’t worry! What’s great about these drop cloths in particular is that they have a finished edge - so your curtains will look chic without the shabby. I needed 10 panels total, using 2 panels for each window, and adding a couple extra panels in the living room with the sliding door to make it look fuller.

Curtain Rings
Since these are drop-cloths and not curtains, they won’t have pockets or rings built in to slide your curtain rod through. So, I went on Amazon and bought 1” curtain rings with clips to hold each panel. I got a 2 packs of 36 for $12 each. We ended up using 5 clips per panel - so you do the math on how many you need for your windows.
Reminder: Don’t forget to borrow a ladder and a power drill if you don’t have one!


Step Two:
Iron the shit out of those drop-cloths
This step is tedious. It is time consuming. It is NOT FUN. But you know what? It’s going to pay off in the long-run cause those things come out of the packaging like someone was practicing origami on them. You don’t want origami curtains do you? (actually… that sounds pretty cool)
JUST IRON THEM ALREADY! It doesn’t have to be perfect, but get most of the creasing out. You can always go back in with a steamer when they’re hung to steam out some spots .

STEP THREE:
Hang the mounting hardware
Using your ladder, tape measure, and power drill. Get up there and hang the mounting brackets for your curtain rods.
See the photo to the right for tips on how to hang your drapes. You don’t want to hang the rod flush with the top of your window - it’ll make your room seem smaller. Extend the rods to make your window look wider and let the most light in!
Mine were already up so I didn’t have to do this step. (score)
Step Four:
Assemble, Slide, & Clip
Go ahead and put together your curtain rods, leaving one of the end caps off. Then, taking your ring clips, slide 10 curtain rings onto each rod. Once all of the clips are on the rod, screw on the end cap.
(Remember, we used 5 clips per panel)
Now, taking each drop-cloth panel, carefully clip the short end of the panel to ring clips. Pay special attention to which “side” of the drop-cloth you are clipping. The finished edge will have an obvious back side, which you want to make sure is on the back-side so it faces the window and not the interior of your space. I clipped one clip on each end of the panel, and then placed the remaining 3 clips on where the creases used to be (about 8 inches part).


Step Five:
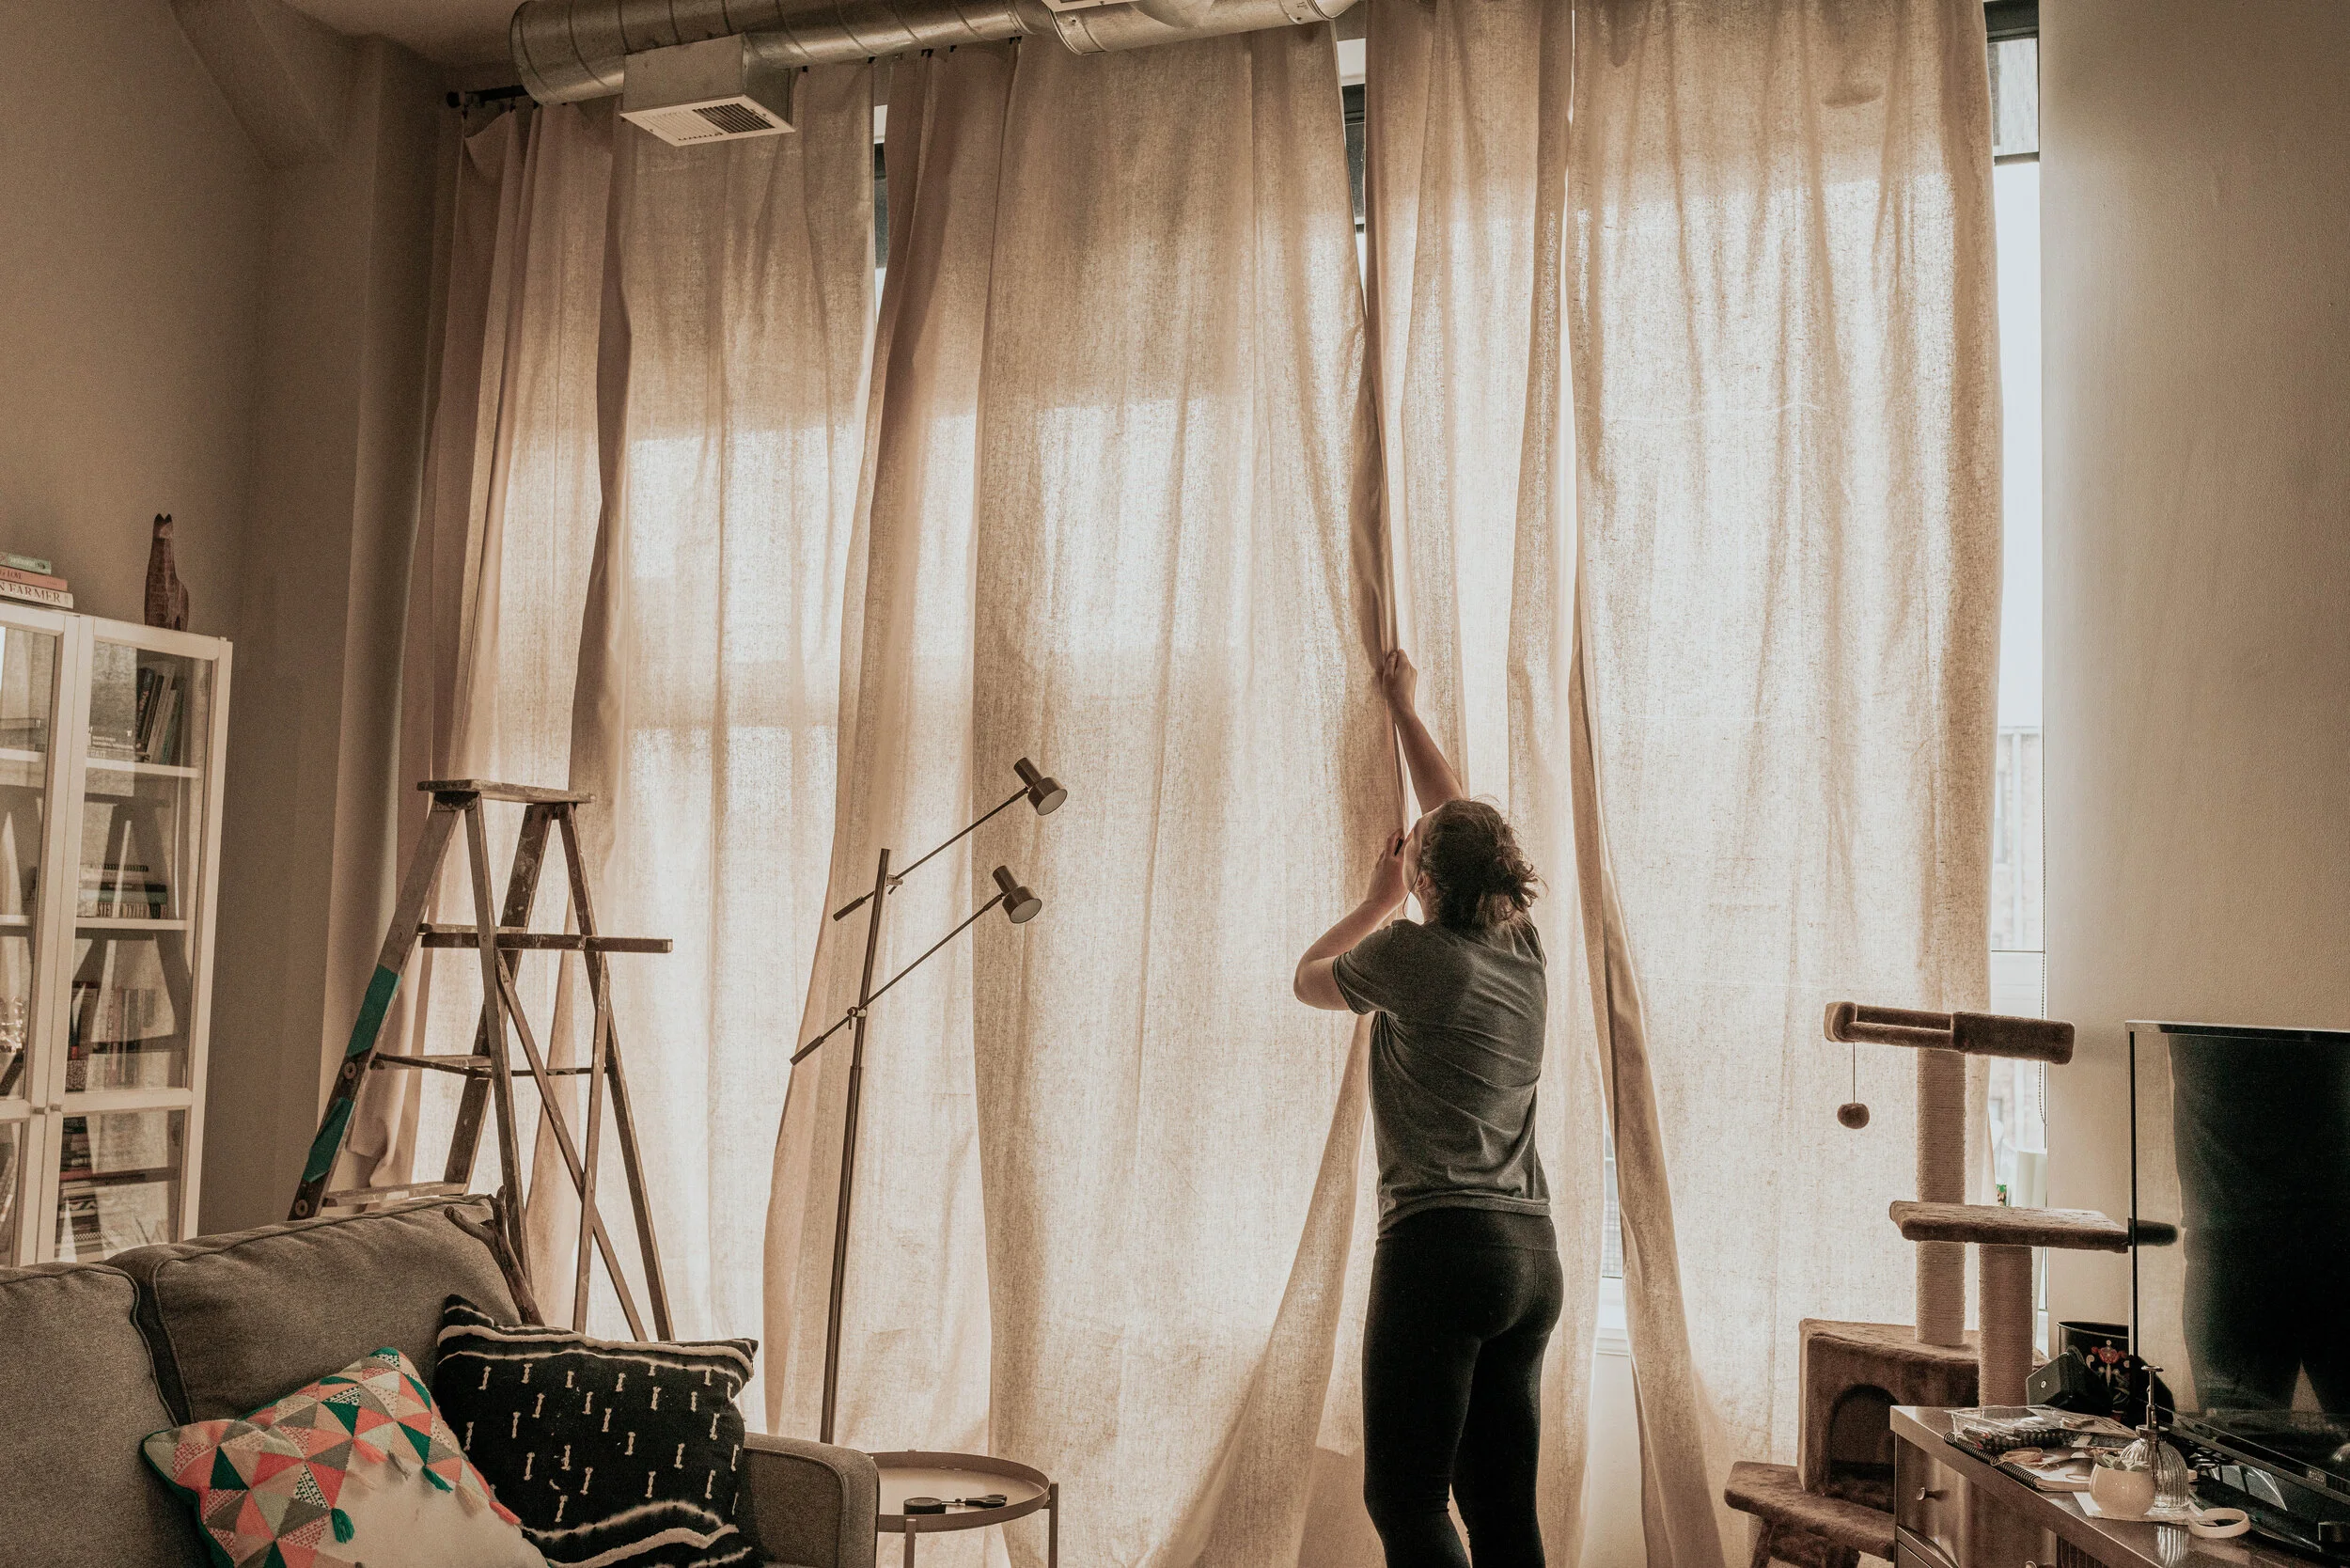
Time to hang Those Suckers Up
This is where your friend comes into play. Do not, I repeat, DO NOT, try to hang these up alone! They are heavy, the rings slide, the ladder is probably wobbly, and we’re in the middle of a pandemic so you don’t want to fall off, break a bone, and have to go to the hospital. Just, grab a pal. No one is doing anything, and I’m sure they’d be happy to help.
When we hung these, we made sure the furthest-most rings on either end of the rod were on the outside side of the bracket. This way, when you pull the curtain closed, the whole panel doesn’t fling across the rod. Keep this in mind when you’re up there hanging them.


Step six:
Admire (and judge) your work
You’re done! Now how’d you do? Does it look okay? Does it look full enough?
We decided that we needed to add a couple more panels in my living room, so we took them down and did it all again.
Mom was not impressed…

Step Seven:
Fluff it up and you’re done!
This one speaks for itself. Close them, open them, tie them back and see how you like them! Now’s the time to style them up (or down) and enjoy the fruits of your labor!